Tutorial: Build a telescope
Learning-oriented. Follow along start to finish — by the end you will have looked through two telescopes you built yourself. About 30 minutes.
In this tutorial you'll combine two lenses for the first time. You'll build the telescope Galileo pointed at Jupiter in 1610, then upgrade to the type Kepler proposed — and run straight into a 400-year-old surprise: the better telescope shows the world upside-down.
What you need
From the CoreBox:
- The 100 mm lens cube (the objective — it faces the object)
- The −50 mm lens cube (Galilean eyepiece)
- One 50 mm lens cube (Kepler eyepiece)
- Two empty cubes (spacers for the Kepler build — see Open and reconfigure a cube to empty one)
- 8 puzzle base plates
- A window with something interesting far away
Part 1 — The Galilean telescope
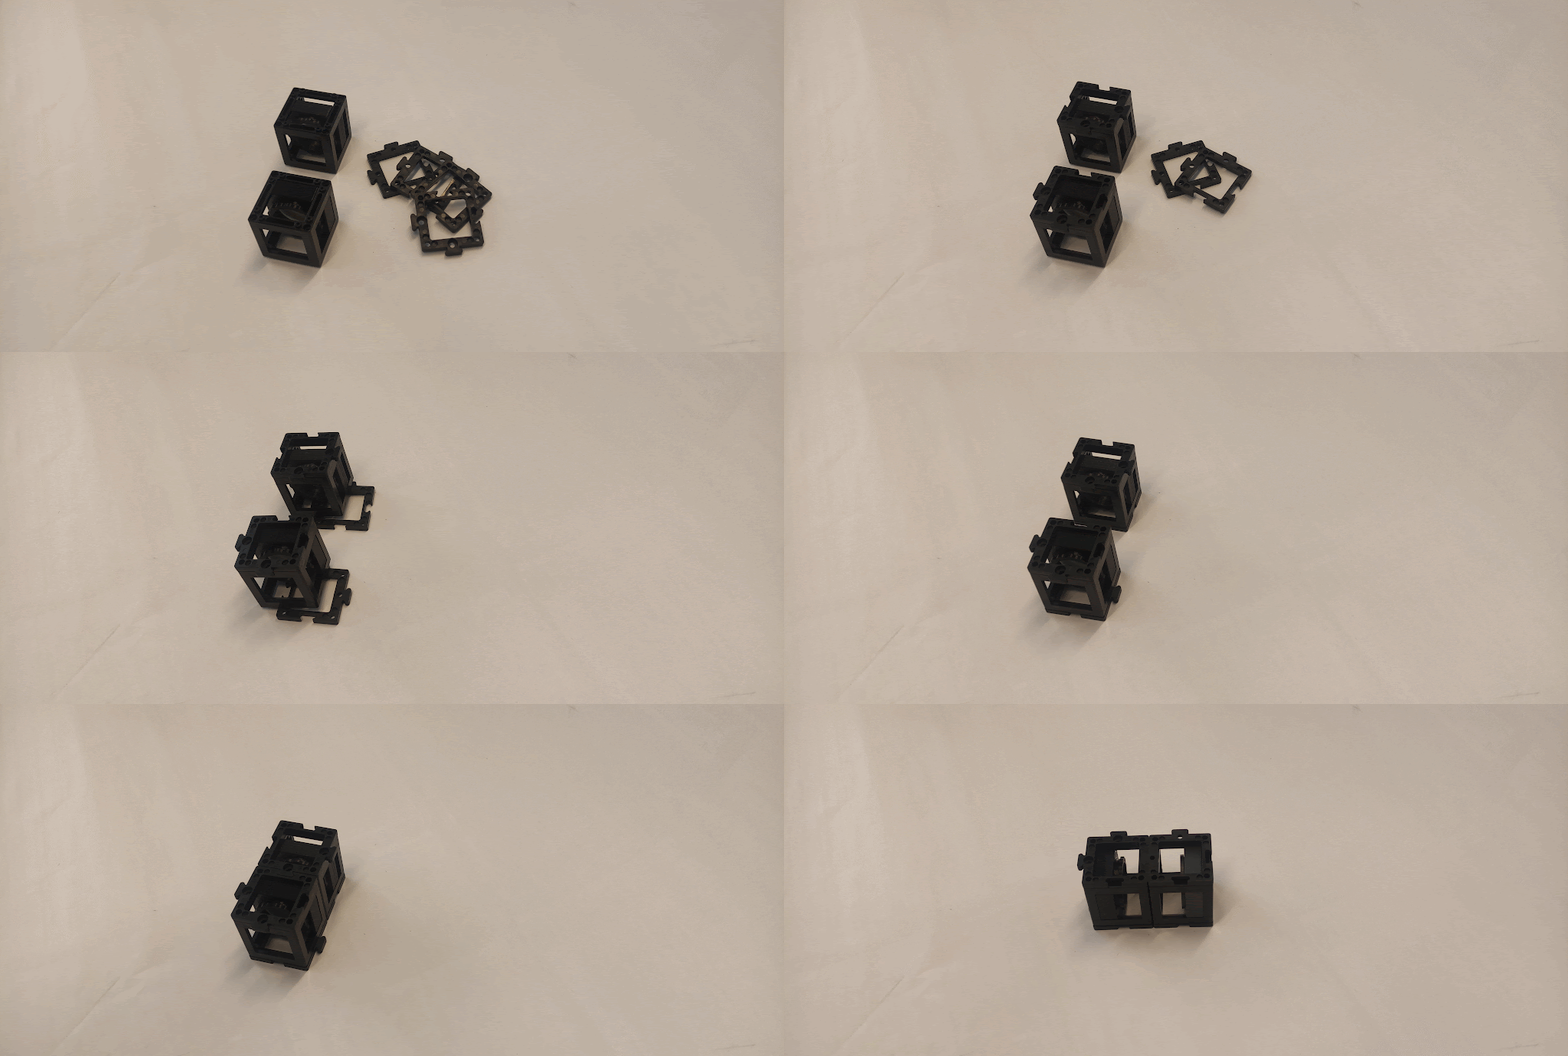 The Galilean telescope in action.
Step 1 — Mount the two lens cubes
Click two base plates together. Put the 100 mm lens on one and the −50 mm lens on the other, then lock both cubes with two more plates on top.
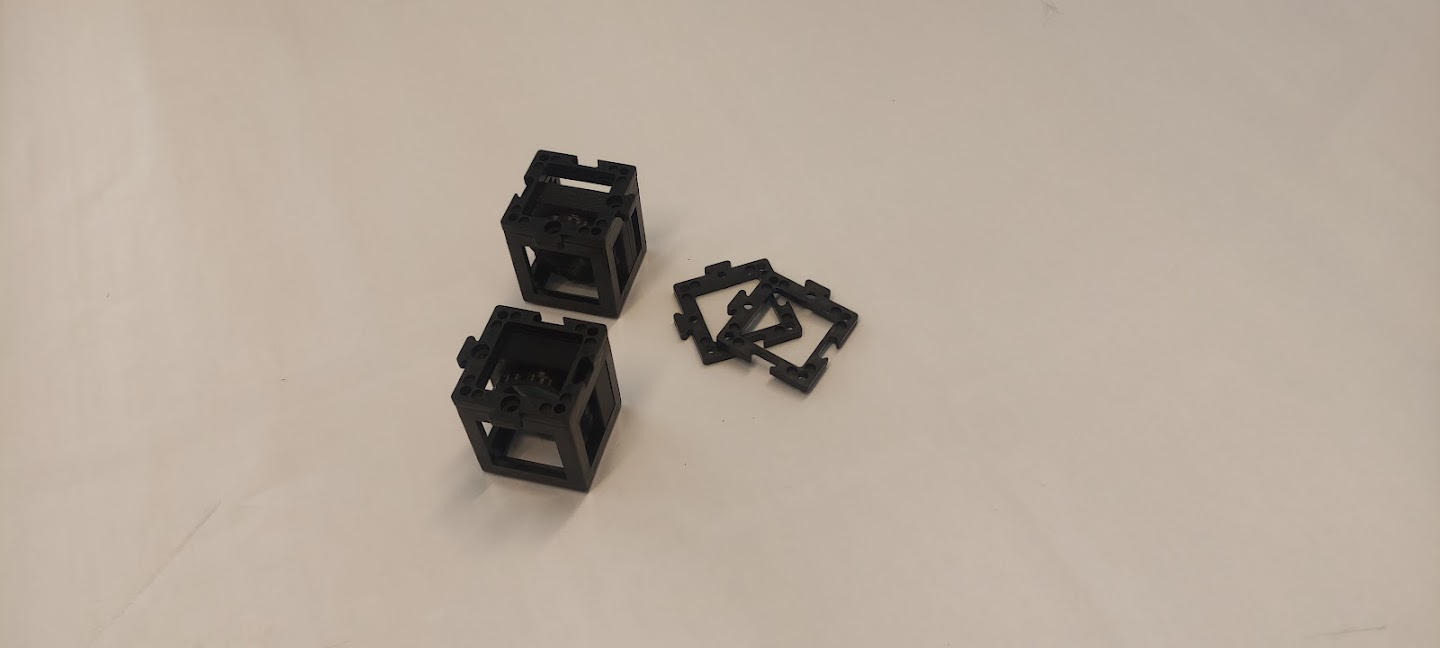 Base plates on top…
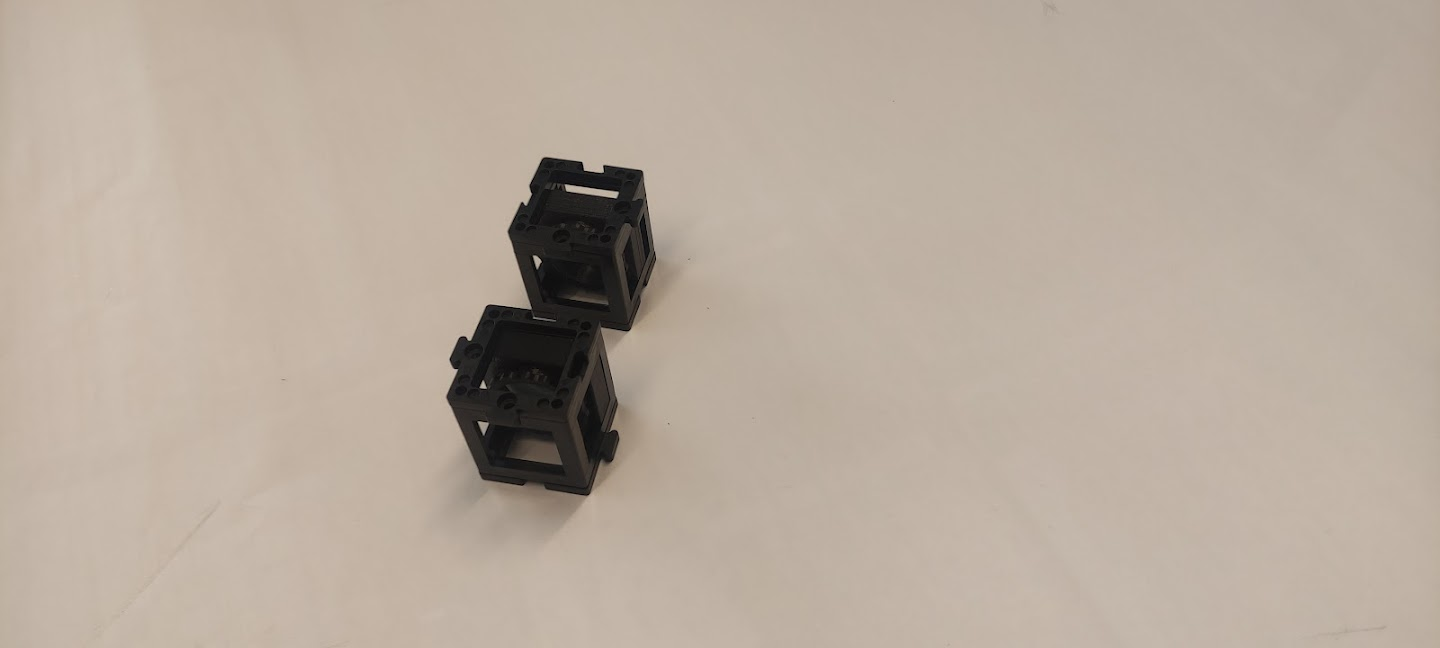 …and on the bottom make the pair rigid.
Step 2 — Set the lens spacing
Slide the lenses inside their cubes so the distance between the two lens surfaces is as large as possible (about 50 mm — the difference of the focal lengths, 100 mm − 50 mm).
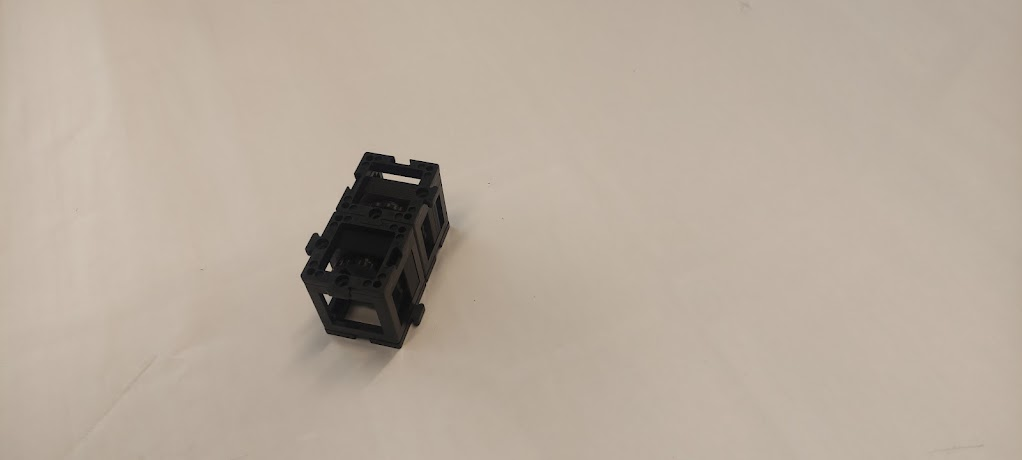
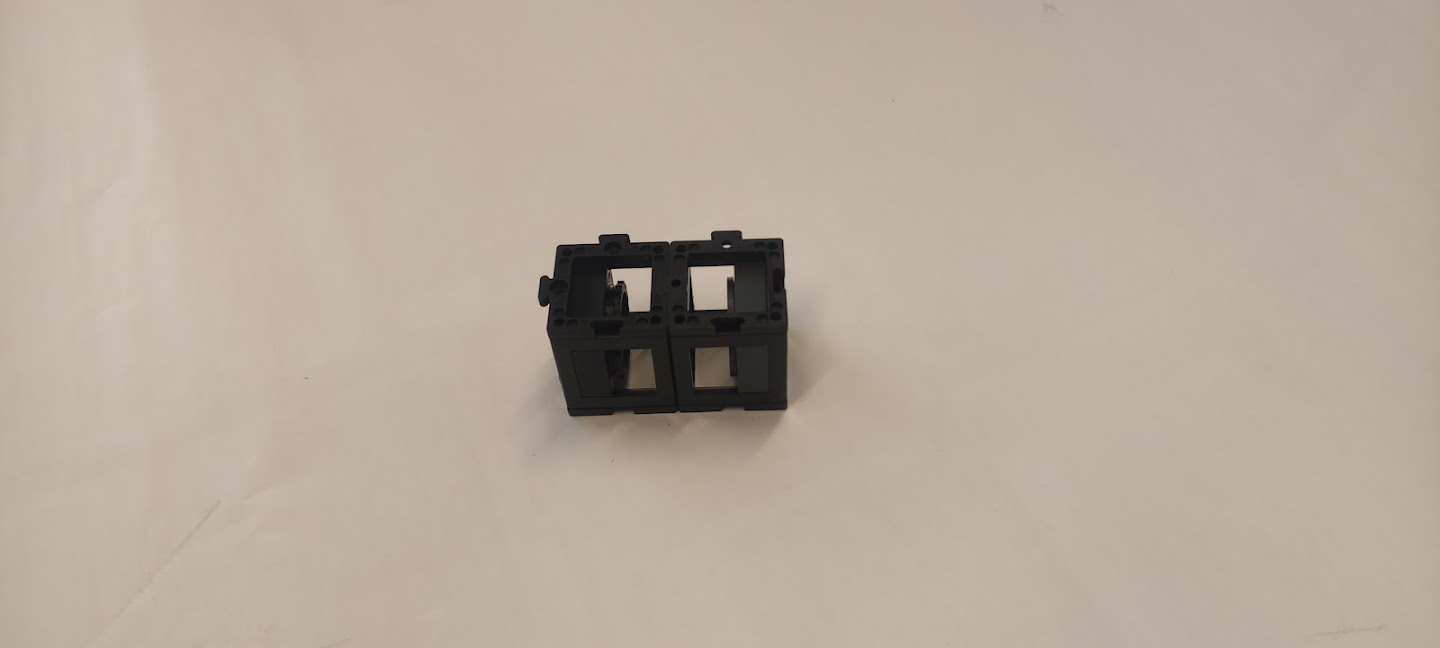 Maximise the distance between the negative and the positive lens.
Step 3 — Look through it
Hold the telescope up with the −50 mm lens at your eye and the 100 mm lens pointing out the window. Fine-tune the spacing until a distant object is sharp.
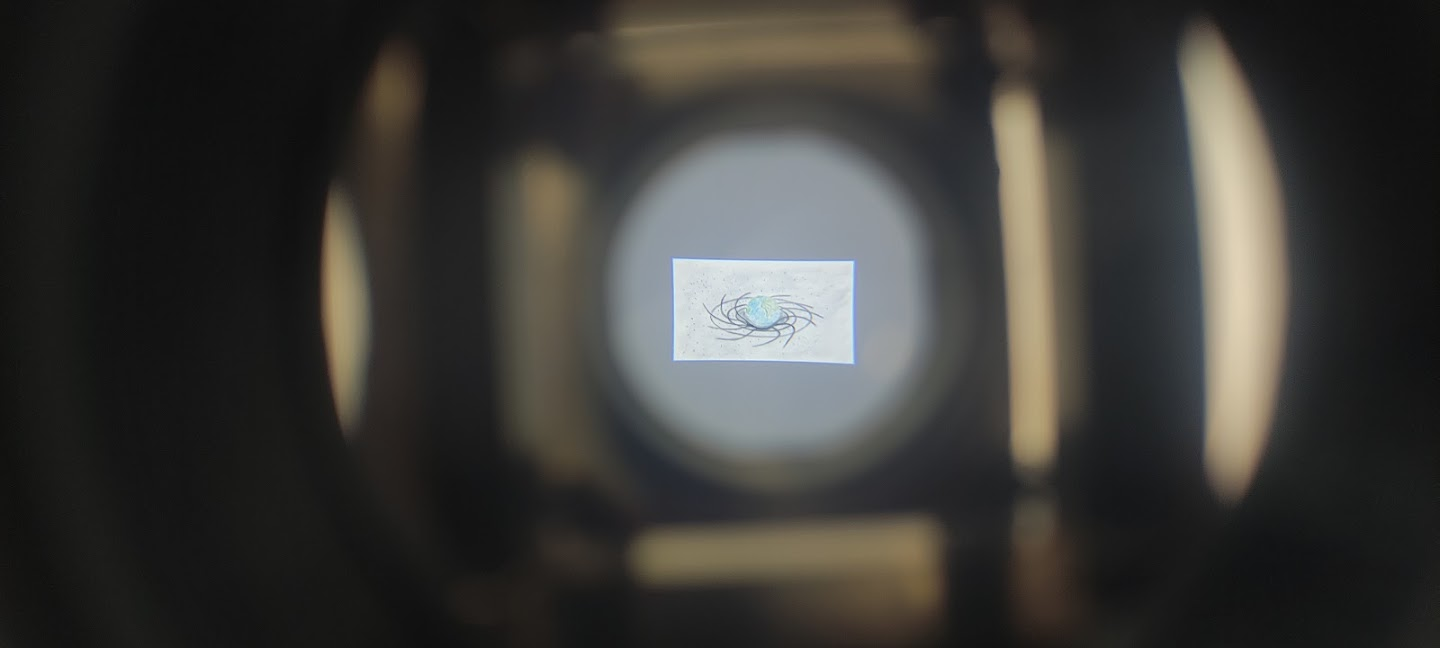
You should see the object about 2× closer — and upright. That's why this design survives today in opera glasses: compact, and the world stays the right way up.
Part 2 — The Kepler telescope
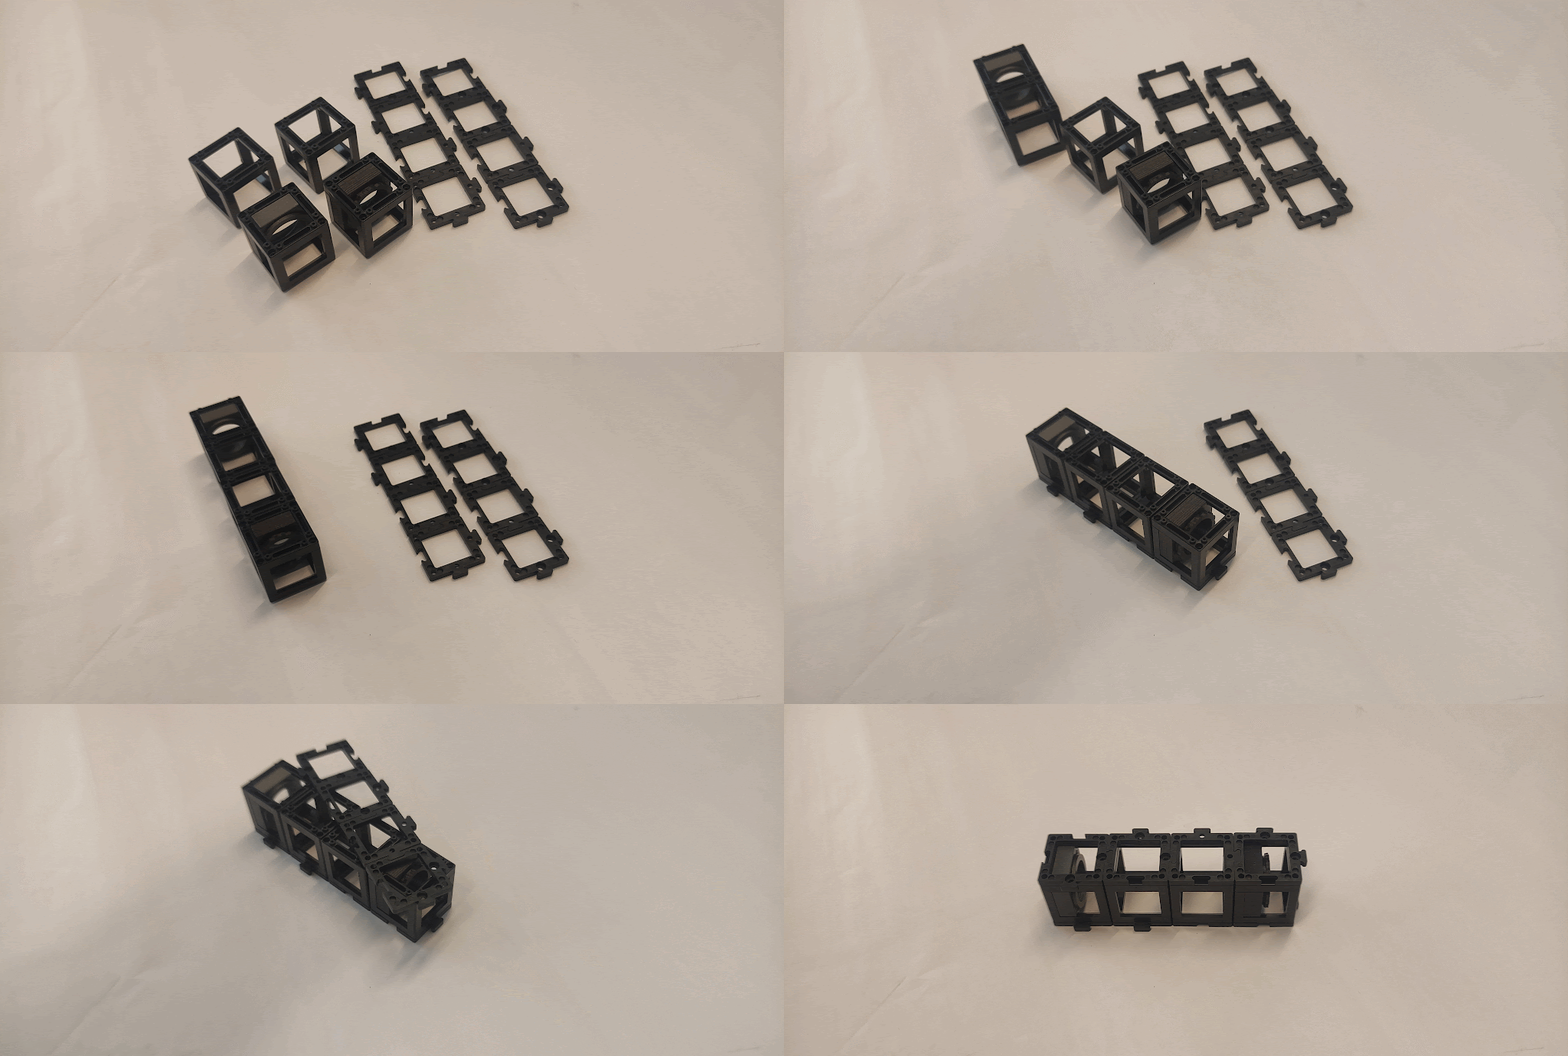 The Kepler telescope in action.
Step 4 — Rebuild with two converging lenses
Now swap the −50 mm eyepiece for the 50 mm lens and stretch the tube: the lenses must sit further apart (the sum of the focal lengths, 100 + 50 = 150 mm).
- Click four base plates in a row.
- Put the 100 mm lens on one end and the 50 mm lens on the other.
- Put the two empty cubes in the middle — they stabilise the long tube.
- Lock everything with four plates on top.
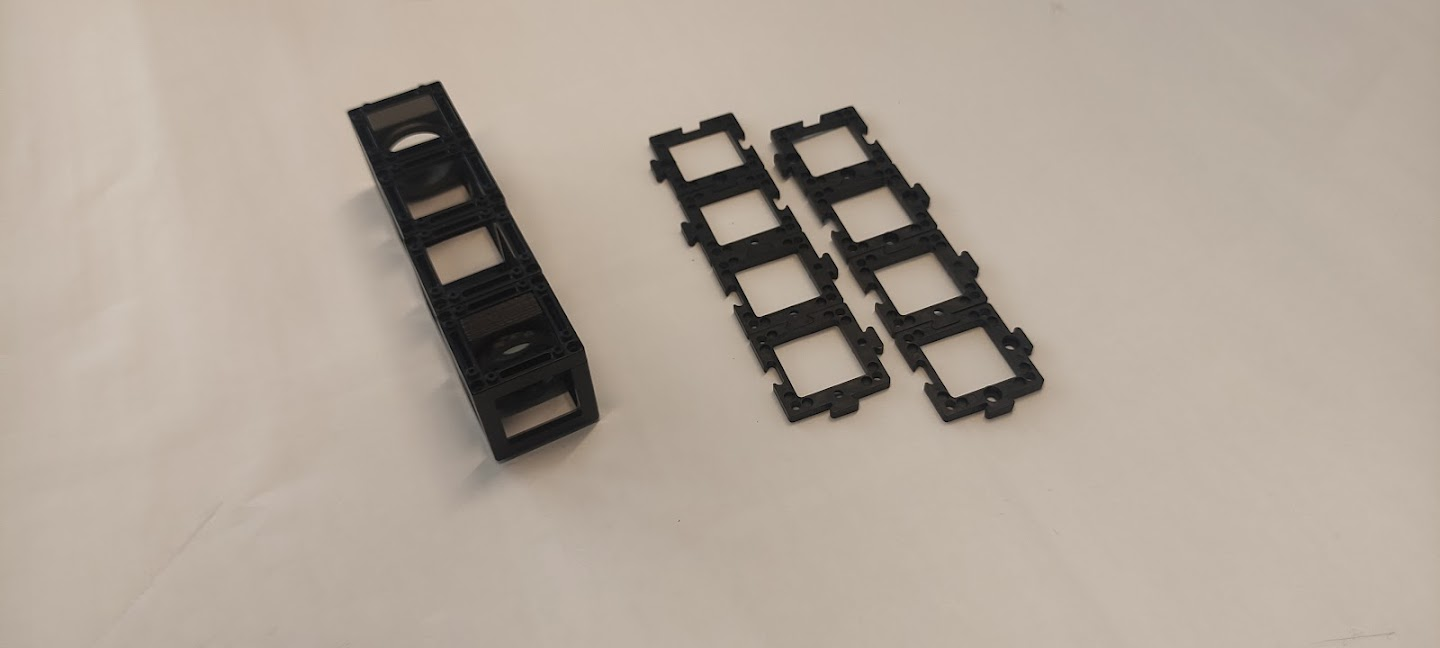 Lenses at the ends, empty cubes in the middle.
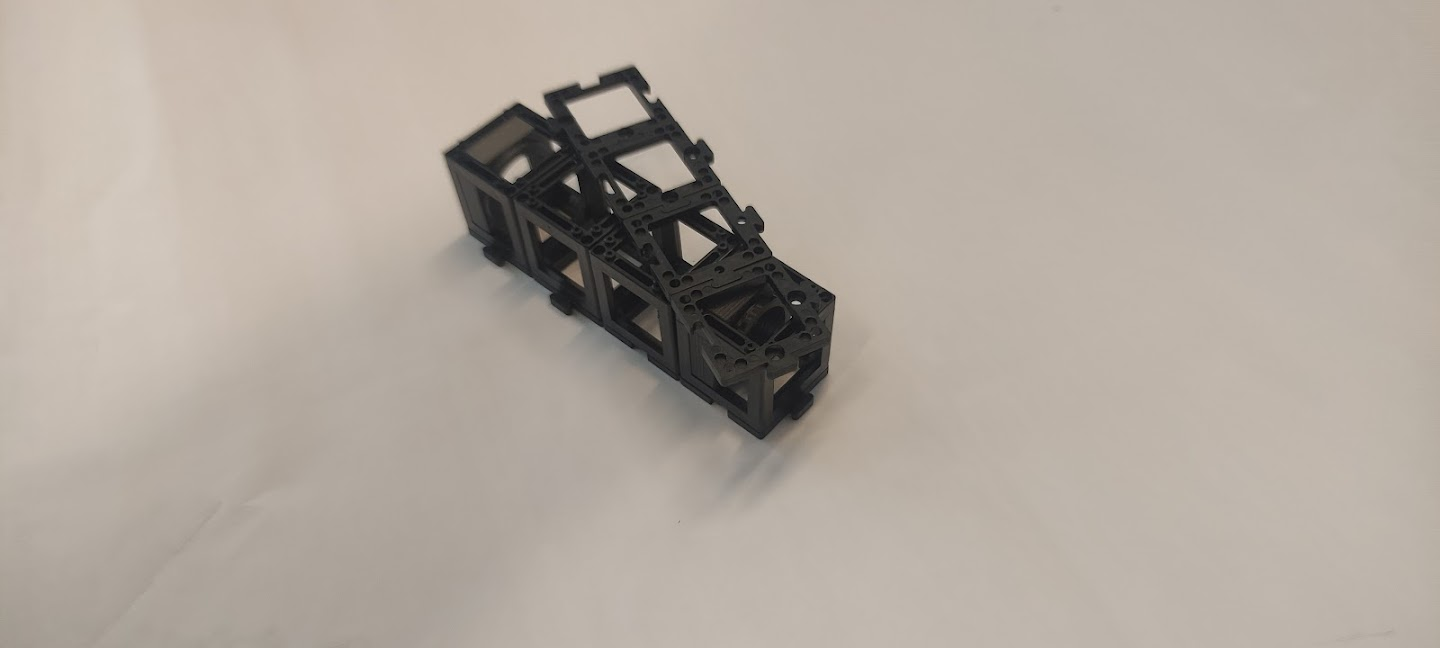 Fixed top and bottom.
Step 5 — Look again
Eye at the 50 mm lens, objective out the window, fine-tune the spacing.
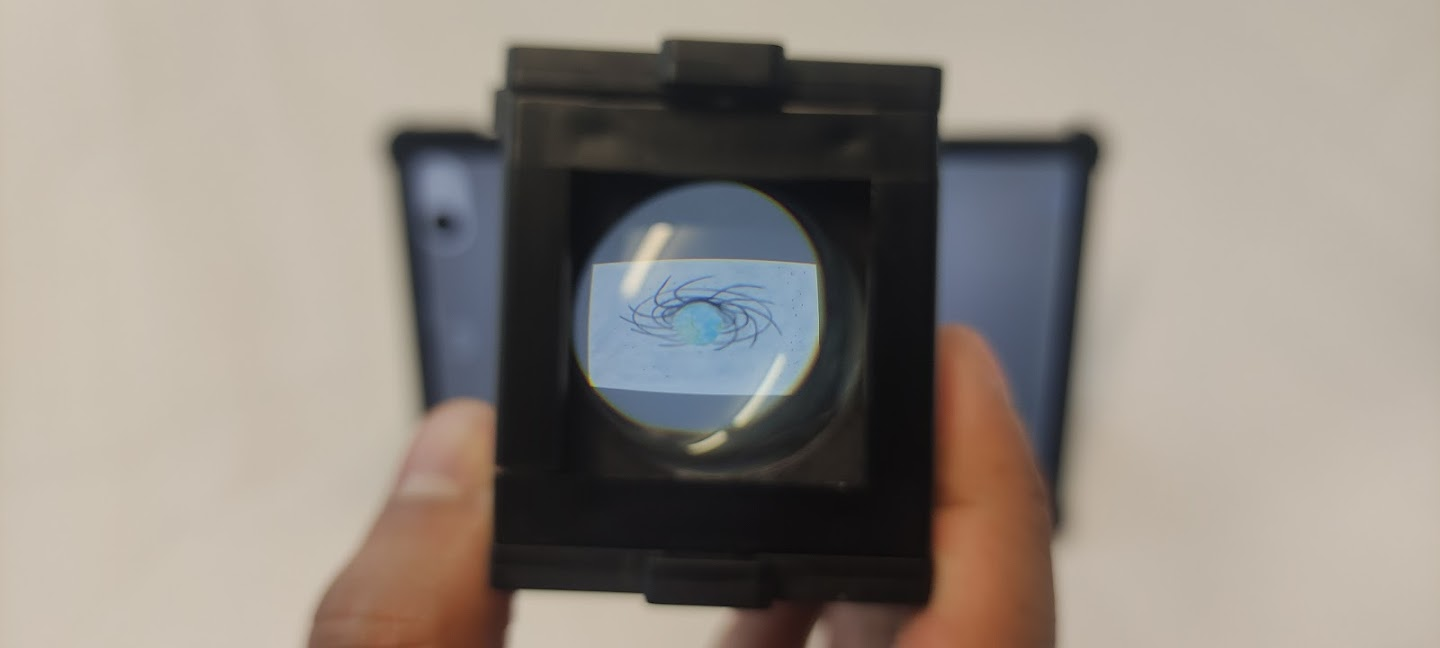
The object appears larger and brighter over a wider field of view than in the Galilean — but it's upside-down.
You did it. You've built both classic telescope types and found their key difference with your own eyes.
Why is the Kepler image upside-down?
The objective forms a real intermediate image inside the tube — upside-down, as every real image is (you saw this with the projector). The eyepiece then acts as a magnifier looking at that image: it enlarges, but it doesn't flip it back.
Try to catch it: hold a small piece of tracing paper or baking paper inside the Kepler tube near the 100 mm lens's focal plane (open the top plates). A faint, tiny, upside-down image of the window appears floating in mid-air on the paper. The Galilean telescope has no such plane — that's why its magnification is limited and its field of view small.
Astronomers simply don't care that stars are upside-down — which is why the Kepler design is what observatory telescopes still use.
The full ray diagrams are in How telescopes work.
Try this
- Swap the lenses (look through the 100 mm side). The world shrinks — you built a telescope backwards, which is how a beam expander works in reverse.
- Spotting scope: add a third lens between intermediate image and eyepiece to flip the image upright again (the old build is shown in the archive). Terrestrial telescopes do exactly this with prisms.
The spotting-scope / erecting-lens build needs a proper parts list and step photos — the archived version only has schematic images (MINIBOXNEW/29-30). Decide whether it becomes its own how-to page.
What's next?
- Understand the ray paths → How telescopes work
- A microscope is a telescope backwards → Your first microscope